The script that is included in CorelDRAW is capable of creating a calendar at any size that you may require; it is just a matter of setting and conguring the proper settings.
In this example, I will create a letter size calendar that displays January 2014.
Steps:
1. Start by creating a new document. In the New Document dialog, select Letter (A) then Landscape (B).
2. From the Tools menu, select Macros > Run Macro.
3. When the Run Macro dialog box opens, from the Macros in: drop-down (at the bottom of the dialog), select CalendarWizard (CalendarWizard.gms) and click Run.
 |
| steps |
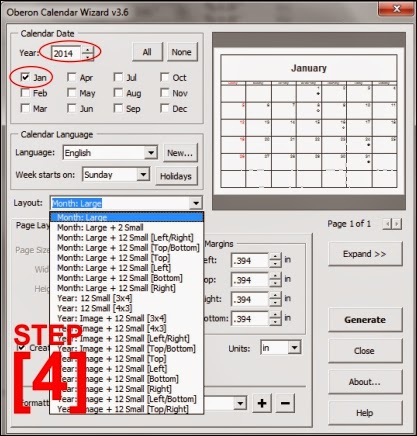
4. The calendar wizard will appear. Set year 2014 and put a check on January. On the layout, select Month: Large.
 |
| calendar wizard. Note: if you want to create a 1 year calendar, just select all months. |
 |
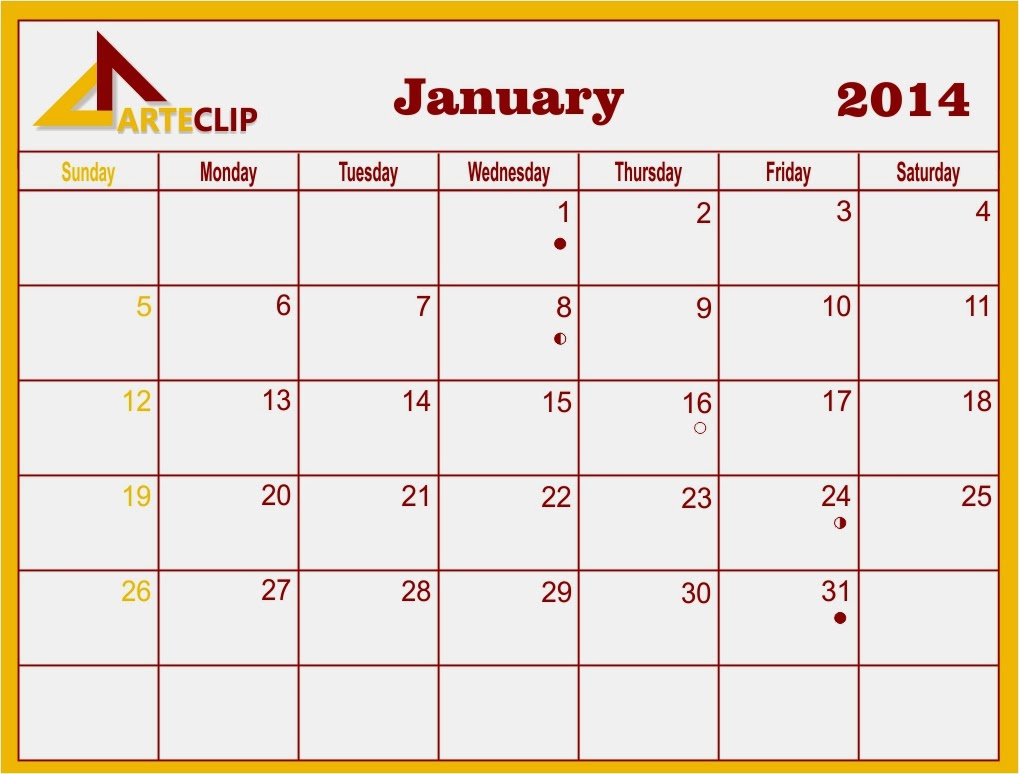
| January 2014 calendar |
You can now customize the design, color, background or add text and logo to your calendar. Below is my final result.
 |
| January 2014 calendar ready for printing |
This 9-minute video tutorial from coreldrawtips.com will further explain this tutorial.
If you have enjoyed this tutorial, be sure to check out the other tutorials that are available here in ARTECLIP.

Cute! Sana nabasa ko ito before Christmas para nakapagprint ako ng sarili kong calendar ang ginawang gifts sa friends. Next year I guess...
ReplyDelete